|
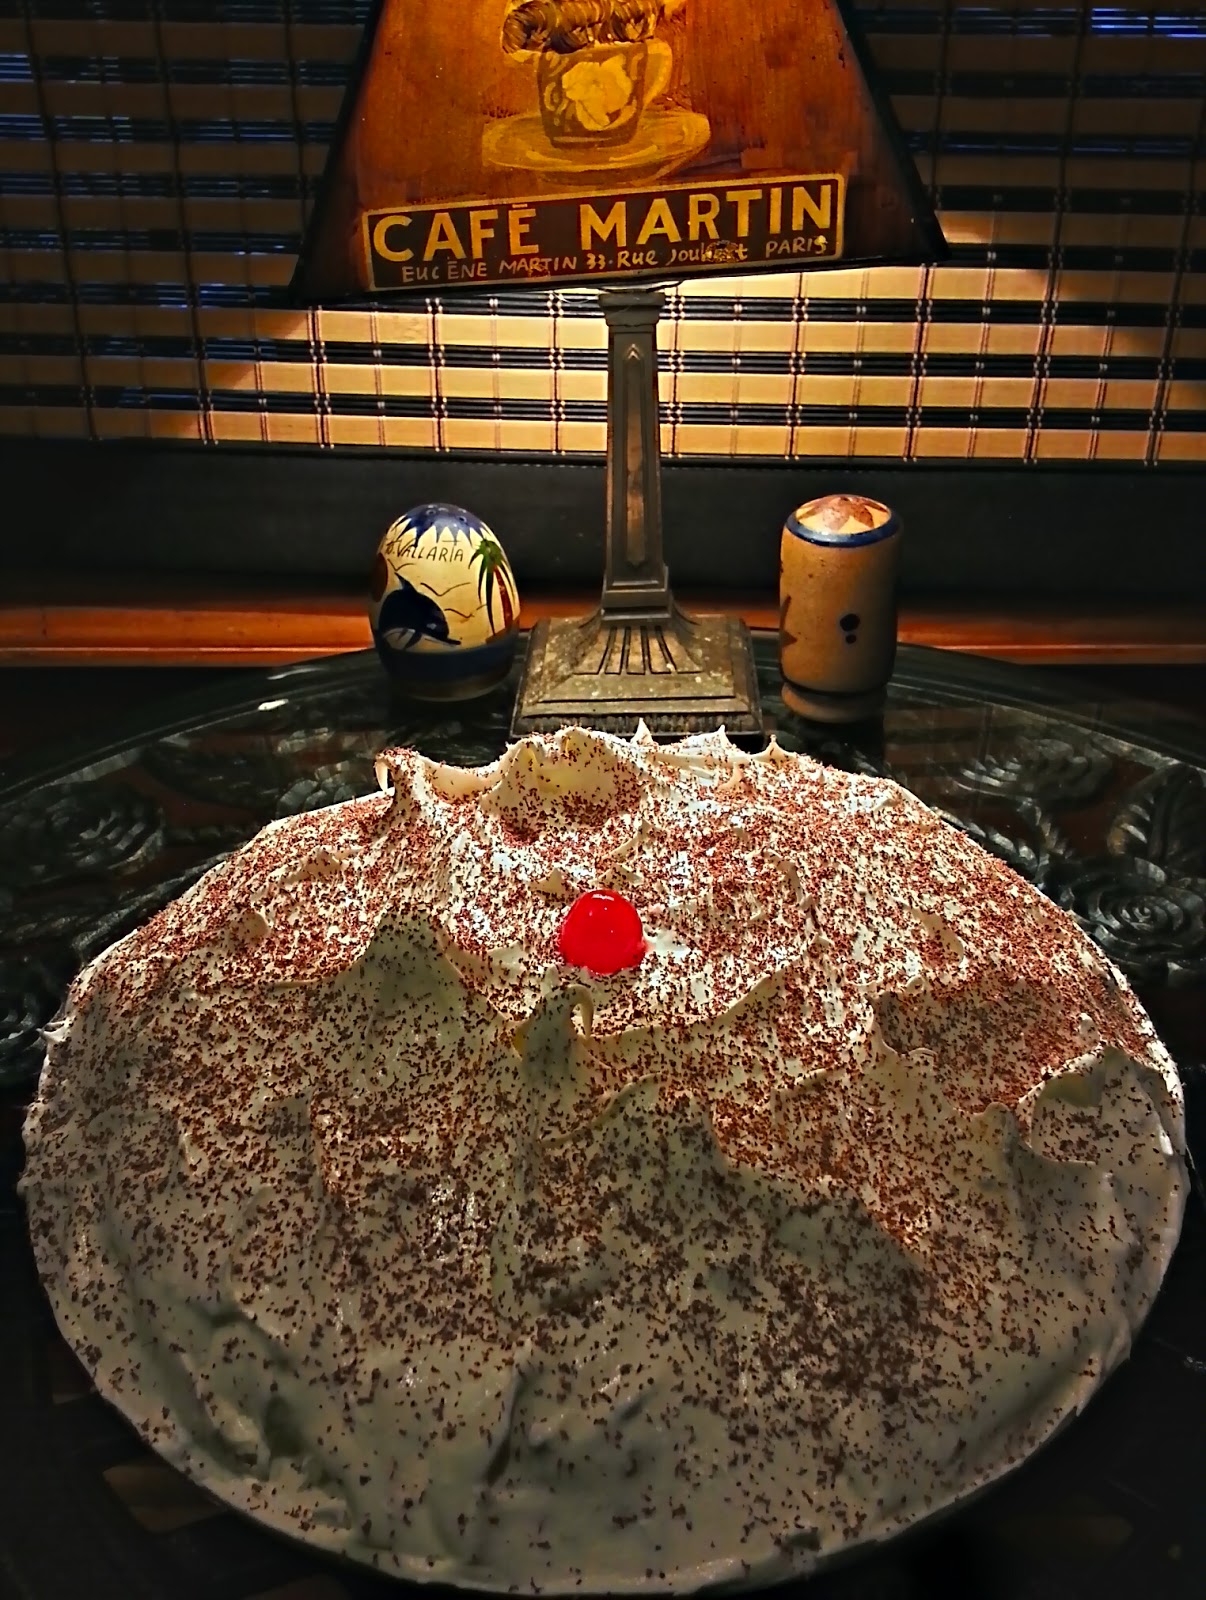
| Three Chocolate Cheese Cake |
 |
| My Kitchen Bistro |
OK kids, I’m going to
get really serious with this one. (Yes it's my kitchen, Yes I made this and Yes they are my photos) It’s my
Birthday and I get serious on my birthday.
A real Ball Buster (excuse my French) A challenge for the cooking hobbyist. This is a decadent Torte or Gateau that is
assembled in four layers. Anything
sounds good when it’s in French. As the name implies it is cheesecake and three
different kinds of chocolate assembly (Espresso cookie, Mousse and Ganache.) Chin up, this is not as difficult as it
looks, however it will take a lot of time, around twelve hours, (mostly wait
time for cooking and chilling) so pick a day when you have other things to
occupy your time around the house. The
key to making a good cheese cake is very slow baking in a “Bain-Marie”, i.e.,
water bath and the key to not going insane is the prep. What the French call “Mise en
place”. Gather your thoughts, tools and ingredients before
you assemble. If you have to search
while assembling then you are going to forget something or mess up the flow. All sorts of tasty possibilities can be
derived from the four basic recipes that make up this decadent torte assemblage. Example: double the recipe and just make the
cheese cake (Layer 2 only)
Layer 1: Oreo Cookie Crust
 |
| Making the Crust |
Prep:
Line the bottom of a 9
inch x 3 inch spring form pan with parchment (cut a circle)
Wrap the outside of
the spring form pan with a triple cross of aluminum foil; you are going to
submerge the pan part way in water later and you need to keep the water out of
the cake.
Ingredients:
1 Package 15 1/3
ounces of Oreo Cookies (about 30)
4 Tablespoons unsalted
butter (Melted)
2 Tablespoons Instant
espresso (reduce to powder with a Mortar and Pestle)
Directions:
Pulverize the cookies
(I have a food processor attachment to my immersion blender). In a bowl, add
the powdered espresso and pulverized cookies and mix. Add the melted butter and mix well. Put the
mixture in the prepared spring form pan and compress and smooth with the bottom
of a glass. Put the pan in the freezer
while you prepare the second, i.e., cheese cake layer.
Layer 2: The Cheesecake
 |
| Making the Cheesecake Layer |
Prep:
Pre heat oven to 325
degrees Fahrenheit.
Put a kettle of water
on to boil
Get out your stand
mixer and paddle (this is kind of a must to get the lightness in the batter)
You will need a
roasting pan or a large oven proof container.
As I do not own a large roasting pan, my 12 inch x 2 inch cast iron
skillet works perfectly.
Ingredients:
2 eight ounce packages
of Philadelphia Cream Cheese (room temperature)
2/3 cup regular sugar
1/4 teaspoon kosher
salt
1 teaspoon almond
extract
2 large eggs (room
temperature)
2/3 cup heavy cream
Directions:
In your stand mixer,
beat at medium speed the cream cheese for 4 minutes.
Keep running and add
salt and sugar and beat another 4 minutes.
Continue beating and add the extract, then one egg continue beating for
one minute, then the other egg and beat for an additional minute. Reduce the mixer speed to low to stir in the
heavy cream.
Now put the foil
wrapped spring form pan into the other pan (in my case skillet) and add a few
cups of your hot water. Scrape the
batter into the spring form pan the batter will only fill about half of the
pan. Put enough boiling water to come half way up the side of the spring from
pan, then very carefully (remember hot) put the skillet and spring form
combination with your cake into the oven.
Bake for 1 ½ hours, then prop the oven door slightly open and leave
undisturbed for 1 more hour. After the 2nd
hour, very carefully remove your assembly from the oven and very carefully pull
out the spring form pan and very carefully remove the foil (remember hot water)
place the spring from on a rack and allow to cool to room temperature, then lightly
cover and place in the refrigerator to cool for another 4 hours or
overnight. When the cake has completely
chilled you are ready to move on to layer 3.
Layer 3 - Le
Mousse au Chocolat
 |
| Making the Mousse |
Prep:
Here is another use for a Bain-Marie: in this case
a double boiler. I don’t own one so I
use a heatproof bowl over simmering water.
In either case the idea is to maintain a low and even temperature.
You will need three bowls one of which is heat
proof; I have a set of 5 stackable stainless steels bowls that I consider
“Kitchen Essentials”. Now making a real
mousse (that means one not from a box) is not hard but “Mise en Place” and the
exact order of process is very important to be successful. Therefore read the
directions before you apply heat, so you understand what comes next.
Ingredients:
6 ounces of Good Chocolate ( I use Ghirardelli 60%
Cacao bittersweet Chips)
3 Tablespoons unsalted butter (softened)
2 teaspoons instant espresso (reduce to powder with
a mortar and pestle)
3 eggs, separated
1/2 teaspoon
Cream of Tarter
6 tablespoons regular sugar (4 = ¼ cup)
1/2 cup very cold heavy cream
1/2 teaspoon vanilla
Directions:
1. Put the butter and chocolate in a heatproof bowl,
over simmering water, melting the butter and chocolate together while stirring
with a whisk until smooth and shiny.
Next stir in the espresso powder. Remove the bowl from heat and let cool
slightly. (if the mixture is not cool enough the egg yolks will scramble
instead of just tempering and cooking) Next add the egg yolks one at a time beating
with a whisk until incorporate. (Set
aside)
2. In another bowl, beat the egg whites until they
foam, then add the cream of tartar and continue to whisk. Gradually whisk in 4 tablespoons of sugar and
continue to whisk until stiff peaks are formed.
My Immersion blender with its whisk attachment makes short work of this.
(Set aside)
3. In
another chilled bowl, beat the heavy cream until it begins to foam and thicken,
then add the remaining 2 tablespoons of sugar and the vanilla. Whip the cream until it holds soft peaks.
4. Now gently fold the egg whites into the chocolate mixture. The catch word here is fold not beat. Next fold in the whipped cream. Do not over mix the mousse, but do blend the
cream in well.
5. Finally put the mousse on top of the cooled cheesecake, while
still in the spring form pan. (at this
point your torte will come to within 1/2 inch of the rim of the spring form
pan.)
6. Cover with foil (don’t allow foil to touch the mousse) and chill
in the refrigerator for 2 hours. You can speed things up in the freezer but be
careful the mousse doesn’t freeze.
Layer
4. The Chocolate Ganache
 |
| Yum, Chocolate Ganache |
Prep:
Ingredents:
1/2 cup of
heavy cream
4 1/2
ounces of good Chocolate (I use
Ghirardelli 60% Cacao bittersweet Chips)
1 teaspoon
instant espresso (powdered with a mortar and pestle)
2
teaspoons dark rum
Directions:
Heat the
cream in a small sauce pan over medium heat to just before it boils (do not
boil). Put the chocolate into the cream
and remove from heat, stirring until smooth.
Stir in the espresso and rum.
When smooth allow to cool for about 15 minutes then pour over the torte,
while it’s still in the spring form pan.
Release the spring form and carefully smooth out the ganache from the
center. (Important the ganache must be cool (not cold) before you pour or you
will have a mess) Refrigerate at least 2 more hours.
Final
presentation:
Decorate
with piped cool whip and or fruit to your liking and a small dust of dark
chocolate cocoa. Enjoy
Enough desserts for a while, my next blog will be an Entree, I promise.
Dave